
You probably know by now that transforming accessories with paint is one of my favorite things to do. If it's a great shape, or figure in this case, that I love, I KNOW it can be salvaged. Are you ready to learn a new painting technique? I was wanting to try a different look and color that is a little darker than what I showed you this past spring, I guess to go along with the season......so let's go! It's easy!
 What You'll Need:
Figurine, statue, or some accessory in need of some TLC
Clean Metal Primer (this works great for ceramics too!)
Territorial Beige (or some form of tan/beige)
Burnt Umber
Gnarly Brush
Spray Sealer in Satin (or flat if you prefer)
Meet Quail. He is old and crying out to be brought to the 21st century! He is pitiful, but potentially pretty.

I gave him a coat of primer and let it dry.
(Hey, if you're into the mod look, after the primer, give him a couple of coats of glossy white and call it done. I like that look too.)

Follow up the primer with two coats of territorial beige, and let dry.
Make sure you get Quail's belly.

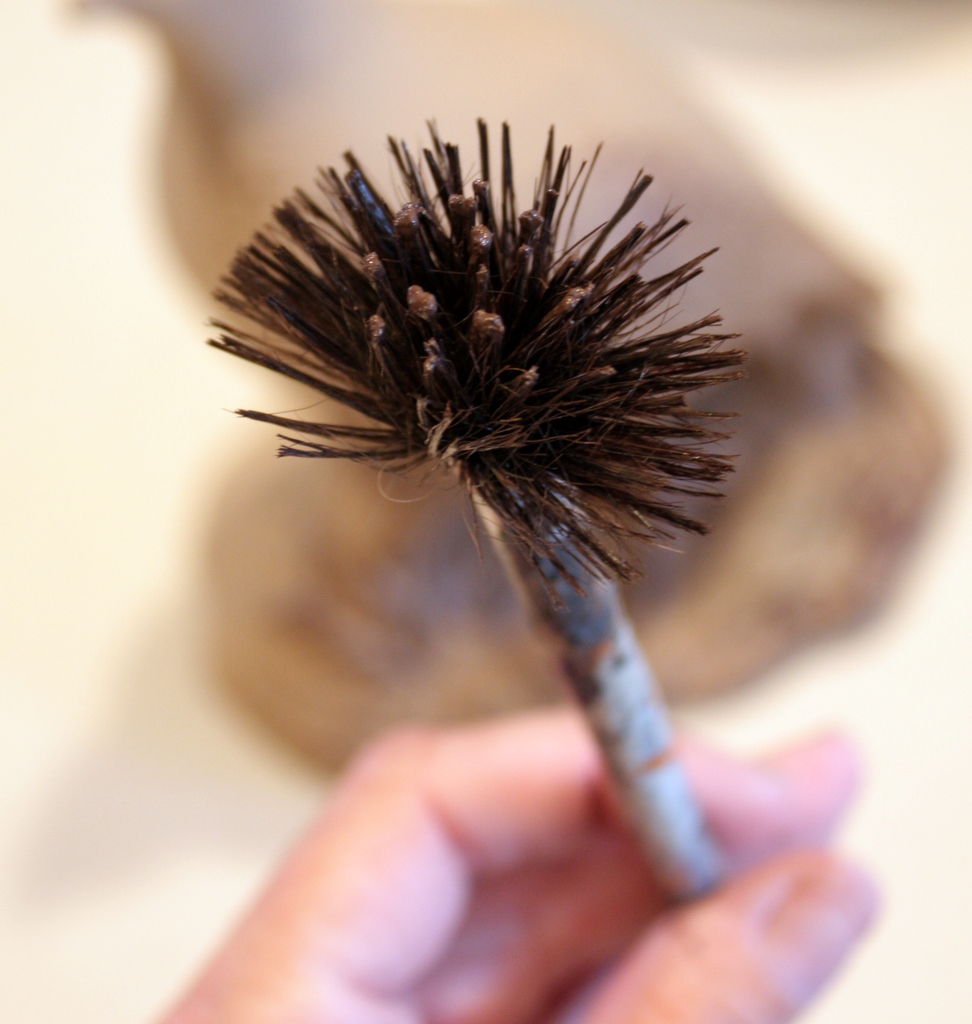
Here is the brush that I use for dry-brushing on small projects. It is an artist brush that has been through the ringer a couple of times, but one of my most used brushes. I suggest using a smaller brush because you have more control over where the paint is going, but a small 1 inch chip brush will probbaly do the trick too, you'll just have to make sure that it isn't layered with too much paint.
Burnt Umber is probably one of my favorite paint colors. It is the perfect brown. So while you have some wiggle room on which tan/beige to use, I urge you to use only burnt umber for the top coat. So start off slowly and build up the layers of paint, you'll want the beige to show through quite a bit. I probably went over the bird twice before I felt it looked right. You'll know when it's done.

Here is Quail all finished, but looking rather dull, so on to the next and final step. Is this easy or what?

Give Quail two coats of a satin polyurethane. That sheen really brings out the color and isn't too glossy. He's looking mighty happy and handsome now!

Here is another sampling of the technique, this time on an over-sized pear (I love this too!!) The technique works even if you don't have raised surfaces too. It did take a little longer to get it just right, but it was worth it!

And then I was REALLY happy with the outcome of this one. This one did take some time. But you can't beat the before and after
1980's Ceramic Fruit Topiary Before:

Timeless AFTER:

All three of these pieces I bought to go in my booth, but I think the quail might have to stay with me for a while (and the pear too!) :)

I hope you have a fresh perspective on old and tired accessories, paint them!
This technique is really easy, give it a try!


Need a design boost? For advice and guidance on style, contact me!


I like it! I normally bypass ceramic pieces not thinking you could paint them. I am definitely going to be giving them a second thought now, Michelle. You have really made them more timeless and where they could fit in with any decor.
ReplyDeleteThose look great!!
ReplyDeleteI love the pear!
ReplyDeleteYou're so darn creative! You see something that looks hideous and make it classic.
ReplyDeleteWanted to let you know about a rare occurrence on my blog: I'm giving away SEVENTY FIVE FREE Christmas cards from Shutterfly. Very few people have entered so the chances of winning are really high!
Hope you'll enter and win!
http://happilyalawmama.blogspot.com/
Things always sound so easy and then I get a paintbrush in my hand and something goes very wrong! The difference in these items is really amazing. I love the pear!
ReplyDeleteThat's really cool. They look like old cast iron door stops.
ReplyDeleteJust had to tell you I saw the fruit topiary (painted plain white) today at a high-end consignment shop for $90!!! I like the one you did SOOO much better.
ReplyDeleteMichelle, I just discovered your great blog!! What awesome tips! I'm a big fan of Oil Rubbed Bronze spray paint. I love updating thrift pieces with a little paint. I am now your newest follower; and I hope you will follow me, too! Blessings to you!!
ReplyDeletefabulous idea! I have one of those fruit topiary that I'm going to try your technique. Great transformations.
ReplyDelete