
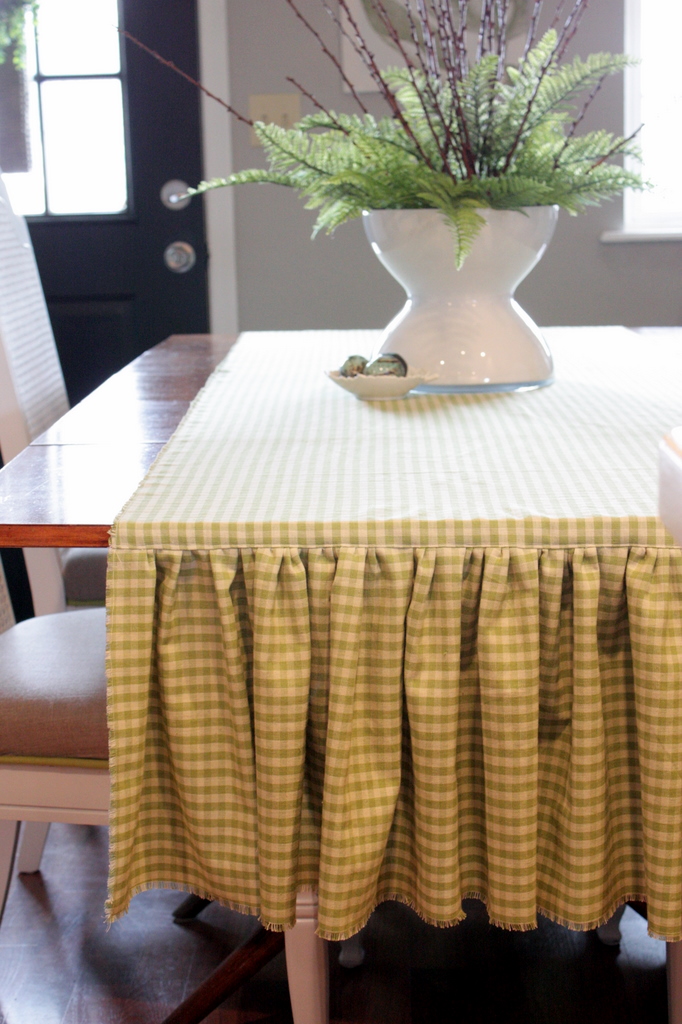
Well, before we begin the tutorial, I wanted to show you an easy centerpiece. I love simple centerpieces and find them easy to change whenever the mood strikes (which is often ;) I don't keep my table set, it's just not sensible for us, but I do love the look of a nice big piece to draw the eye and add some interest, plus who wants a nekked table? You've seen the white hourglass vase before (take a look at it HERE with tulips), this time faux fern and some real branches really create some height and drama. Luckily, some spring pruning has been happening here in the hood and I grabbed a bundle of twigs before they got discarded. As an added detail, I put a little leaf dish of ceramic eggs off to the side, it adds a little bit o'color too.

Anyhoo, on with the tutorial!
Now, if you've been with me for any length of time, you know that I am determined to become a better sewer and have been experimenting with different runners. I made one out of linen fabric (look HERE) and since then I found some more cute fabric (At Hobby Lobby BTW) I thought that I would show you how I did it. Just keep in mind I am still a novice sewer at this point.

I have really been into runners vs. tablecloths for a while now. I've made runners in the past and made them somewhat narrow, but then I thought, why not make full use of the fabric and make it wider. I love the table showing, but I love seeing more fabric too. For this project, all you need is two yards of designer fabric (54"-60" wide), a sewing machine and common sewing supplies.
Right now, my table has it's leaf in it because you what the runner to be long enough with or with out a leaf.
First, fold the fabric lengthwise in half. Cut along the folded edge, making two pieces. This fabric is 54" so now you've got two pieces that are 27" wide each. Set one of the two pieces of the fabric aside for the moment.
Take the remaining piece of fabric and fold it in half lengthwise and cut along the fold. This will give you two pieces, two yards long...so the fabric is cut in half and then in half again.

Creating the ruffles are next. Now a basting stitch is easily done on the machine, but for me, it's easier to do it by hand....so decide which is easier for you and create one on the edge of one of the long pieces you just cut. I put a knot in one end of the thread, pull the thread and the fabric ruffles.
Grab the original piece of fabric that you laid aside earlier and lay it flat on the table. Work with the gathers and ruffles until they are the exact width of the runner and pin in place (I used a lot of pins to keep in place). Be sure to pin like shown, below this makes it easier to sew on the machine:


Go to the machine and sew on the ruffle. If you want to remove the basting stitch at this time, you can, however, I didn't...it wasn't showing, so I didn't feel the need to remove it.

Once the ruffle is sewn on, remove all pins and flip over the ruffle. Then to keep the top of the ruffle a little more tailored looking, I sewed a running stitch just about the seam and it just helps the ruffle lay flat.

See? :)

Finally, the fringe. If you are not the fringe type, then by all means create a hem at this time....but I like the fringe look for added texture. Be sure that your fabric is woven so it will fringe naturally. All I did for the fringe was sew a tight 1/4" around the entire piece and then pull out the fabric threads. This is probably the most tedious part, but you'll make it through...

You have just completed a ruffled and fringed runner! I really love this project, there is zero scraps or waste, nice right?

You could run an iron over it, but I didn't....wrinkles are more texture. :)

I hope you enjoyed this tutorial and hope you find it useful. Go make a runner!
***
Yesterday, I had the port for chemo put in my chest...it went pretty smoothly. I went in at 6:30 am and was home by noon...very smooth. It was sorta funny...they roll me in the OR and getting me prepped for surgery and I'm still pretty awake, but they've put something in the IV...they are securing my arms down, tucking paper blankets around me, putting my head on some sort of Styrofoam "U" shape pillow and I remember thinking " I sure am wake for a lot of this....this is like a bad episode of ER staring ME ......" the next thought that I had was asking the doctor, which I did: "When are we were going to begin?" he said: "We are done!"....so apparently I went under at some point. :) I was feeling pretty good until they started moving me and I could barely move my left arm at all yesterday. For some reason, I thought they were going to put the port in on the right, but it's just a little above and left of my heart. This morning I could move my arm better (which is why I'm typing :) and I'm just a little tender. I gotta be honest though, just looking at the bump right under my skin, turns my stomach a little, hopefully I'll get use to it. {{shudder}}


How cute is this!? Seriously! I love it! and you could do it in any pattern to match any decor! Hope you are doing well!
ReplyDeletevery cute runner and I love the centerpiece! Glad your arm is feeling better!! Blessings!!
ReplyDeleteMichelle, consider that port a lifeline to your future life when you look at it. Maybe that will help you to not think badly of it. That lifeline is going to get you all better and ready to take on the world. Carol
ReplyDeleteGreat table runner--love the gingham:)
ReplyDeleteMichelle: I like the runner. Maybe I will attempt one. Glad you've got that little piece of surgery behind you. It will make it easier in the time to come. Your veins will thank you for it..Hang in there!..Judy
ReplyDeleteWonderful Tutorial Michelle! Fresh and perfect for spring -- Can't wait to share. I am thinking about you and praying praying for strength!
ReplyDeleteMichelle I can't wait to get a day off to make this! My SIL wants a table runner and I think she will love this one.
ReplyDeleteI'm so glad your port went smoothly.
Sending prayers
Diane
I love your table runner. Really like the fabric. I just pinned it.
ReplyDeleteLove the table runner! Your courage continues to amaze me. You are in my prayers.
ReplyDeleteGlad everything went well for you at the Dr's. I love the table runner and I will be making one. You make it all seem so easy.
ReplyDeleteYou are amazing! Thanks for sharing this appealing runner and hang in there.
ReplyDeleteYou just "keep on keeping on" Michelle. Such an inspiration. Love the runner!
ReplyDeleteThat is such a great tutorial! I use a rufler foot though, kind of cheating, but there is no way I could get the perfect ruffle like you did by hand. Hang in there Michelle, I think of you daily, and am amazed on your strength you have shown getting through all this.
ReplyDeleteHow did you pin your ruffles so perfectly? I am beginning to see and I have failed miserably at doing ruffles. I may need to invest in a ruffler foot.
ReplyDeleteKeep your spirits high. Wishing you strength and peace.
Wow! Looks great!
ReplyDelete