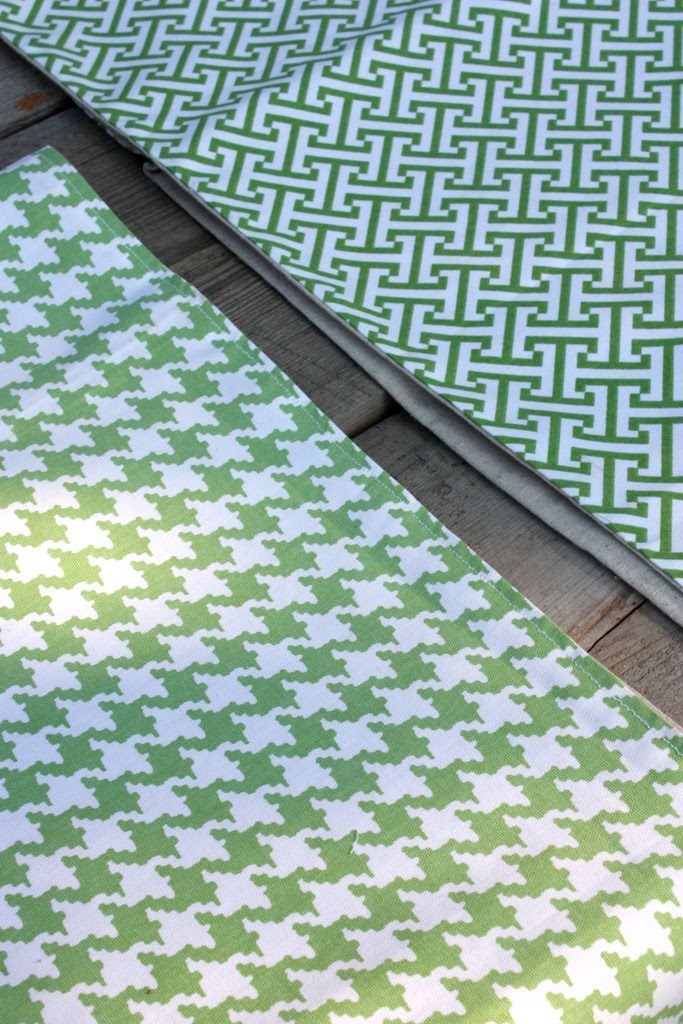
Tuesday, June 14, 2011

Creatively Displaying Seaside Mementos

If you are like me, summertime is a beloved season. Kiddies are out of school, things are a little less routine, room is made in the schedule for pool time and beach trips. We like going to the movies too (have you seen Pirates 4 yet? loved it). Family vacations, outdoor activities, BBQ's, and a host of other too fun activities are in full swing. Of course my summer is going a little different, I've still got a little way to recover from my recent surgery, but at least I am feeling more creative. So maybe you'll be inspired to create some keepsakes out of your vacation mementos. While shopping at the Goodwill not too long ago, I bought a whole bag of embroidery hoops, all sizes in wood and metal for a whopping 1.49. So you may have some of these on hand, or found some old ones too, and of course, they still sell the wooden ones new. I used two of the metal ones, which were my faves, and happen to fit a sand dollar and star fish I had. I have only been lucky enough to find a whole sand dollar on the beach once. Plenty of shells and stones, just never sand dollars. So if your luck is like mine, craft stores and even Walmart (or Wally-mart as Logan calls it) has a great selection. You'll need a little bit of fabric too, I had this fabric left over from my inspiration board project and thought it looked great with this project. I think osnaburg fabric would be pretty too.


When I got the two hoops finished I hung them on the wall by themselves and I just didn't like it. So then I started piddling around with frames, pictures, initials and the galvanized tray I found at Barnyard Days (via Figgy Pudding) last year. You might remember this tablescape, I used it as a centerpiece.


So to create the hoops, don't cut your fabric first, put on the hoop first:


It is easy to just cut the excess fabric away:


I used just a dot of hot glue to secure the starfish to the fabric. I wanted to sew the starfish on to really secure it.


It's a subtle detail, but one I like because it looks more intentional.....to use thread to secure the starfish to fabric.


I intentionally didn't do it perfect and even though the sand dollar is broken, I love the effect.

So to begin the Summer collection, I hung the tray vertically on the wall and hung four black floating frames (with pictures of the kids) on either side, the tray is too skinny to stand alone so the four frames really beef it up, in a good way. Because the tray is metal, I used common magnetic office clips to hold a couple of pictures. Doesn't Keegan look cute, sitting on the dock at Beaufort Inlet, I remember it like it was yesterday.


Anyway (focus Michelle...), I used little brads to secure everything to the wall through the mesh on the tray. Holes in the wall never bother me, that's why they invented Spackle. I enlarged the pictures so you can see the details. I leaned a couple more starfish and put a small shell ball in the "shelf" created by the edge of the tray. I like how the hoops look now instead of just floating away all alone on the wall. The M and J, I've had, I always look for initials in the dollar sections of places like Michael's and Target.
I really like how it turned out and I have room to fill in even more as we collect more trinkets.
I know not every one will have a galvanised tray to do this with, but be on the lookout for anything similar at fleas and thrifts. I hope you are inspired!
I feel fairly certain I've explained everything, but I've been listening to Jummy Buffett while writing and I might of gotten a little carried away. I'm going to go enjoy the weather, thanks for stopping by!


Visit thecsiproject.com


Monday, June 13, 2011

DIY Napkin Rings (2 Kinds!)

Because I am long-winded and picture happy...I wasn't able to fit this napkin ring tute in with the table runner the other day, but here it is, hope you will give it a try. I'm also squeezing in a bonus napkin cuff tutorial too.


What you'll need: Plastic napkin rings from the Dollar Tree, Fabric, Vintage (or new) buttons, Glue gun and Scissors.


Cut the fabric approximately 6 1/2" X 2 1/2" then create a hem by folding about 1/4" of the fabric into hot glue.


Put a dot of glue in the middle of the fabric and place the napkin ring in it, this is so the fabric won't slip around. Continue the fabric around and put a line of glue under the hem to secure.

Make about four snips around the ring on each side


On each section, run a line of glue, and quickly fold it inside. Some slight burning may happen. ;)
Do this on both sides. Now at this point, it is complete and looks pretty good.......
...but I wanted to add a vintage button from my collection to embellish it. I just hot glued it in place right on the seam.
Really simple and easy right? When you make the table runner and these napkin rings, you'll have created a custom set you won't see at the local chain store. And that's what I like!


While I still had the sewing machine out, I created some napkin cuffs too, I used up nearly every bit of scraps.


Here is a Step by Step photo:
Step 1: Cut fabric and backing 3" X 10 1/2" (this includes seam allowance) , create the point by folding at a 45 degree angle and cut. I did this detail to match the table runner.


Step 2: Place right sides together and pin.


Step 3: Sew all around, leaving the end open. Turn right side out, I used a closed pair of scissors to help that along...

Step 4: Iron flat and close up end on the sewing machine.


Step 5: Create cuff overlapping about an inch and accent with a vintage button. I did it offset a little and ironed it to crease. I tacked the button on although it's just for looks. Also, because I noticed it was shifting a little, I tacked the overlapped edges too.

And there you have it, a napkin ring and cuff! Thanks for stopping by and I hope you're inspired!

Want to see my DIY Jute napkin rings? Click here.
Want to see my DIY Burlap and Ruffles Runner? Click here.

Todays Creative Blog


Tuesday, June 7, 2011

DIY Table Runner


As promised, I wanted to share how I made my custom table runner using upholstery weight fabric. I am by no means a real sewer, I liked what Jessica said the other day: "I'm comfortable in my sewing mediocrity" I laughed and totally agreed.


I have been really enjoying these runners, I've made two so far and and love the look. I have a slight fabric addition and usually buy fabric by the yard to make pillows or something, but runners are a great idea too, and take just under a yard. I like the upholstery weight fabric because it just seems more custom to me, and I like the 54" width too. So go ahead and select your fabric and we'll get to work....


I don't have a pattern but I used a store bought runner as a guide for width and the point detail (I really like that). I left the fabric folded in half and cut leaving a seam allowance.


I am able to get two cuts out of one yard with just a tad left over. I decided that I wanted to have a nice neutral backing and used Osnaburg fabric for the backing (found at Walmart or Hobby Lobby).


Next, open the halves and sew together, making it nice and long. At this point, the fabric is measuring at approximately 108" long. The Osnaburg fabric is not as wide as the upholstery fabric, so I had to piece the together.


Take the fabric to the ironing board and iron the seam open like this:
This helps the fabric stay nice and flat.

I used the existing runner as a guide for the point, but just folding it in a 45 degree angle would be just as easy.


I pinned the Osnaburg and upholstery fabric together, right sides facing (although the Osnaburg is pretty reversible).


I pinned pretty heavy because to was so long and I didn't want it to shift at all. Sew all the way around the runner leaving a 6-8" opening on one of the sides. Once the sewing is complete, turn the fabric right side out. It will look a little puffy, for lack of better word, but ironing will make it nice and crisp.


After flipping it out and ironing, I closed the opening using heat and bond. On this runner I did a top stitch, but I didn't on the first one. I think it's just a matter of opinion. I thought the Waverly fabric was busy enough without adding another 'line', so I didn't do a top stitch.

I like the point, I added a button to the finished ones, but that's a matter of preference too


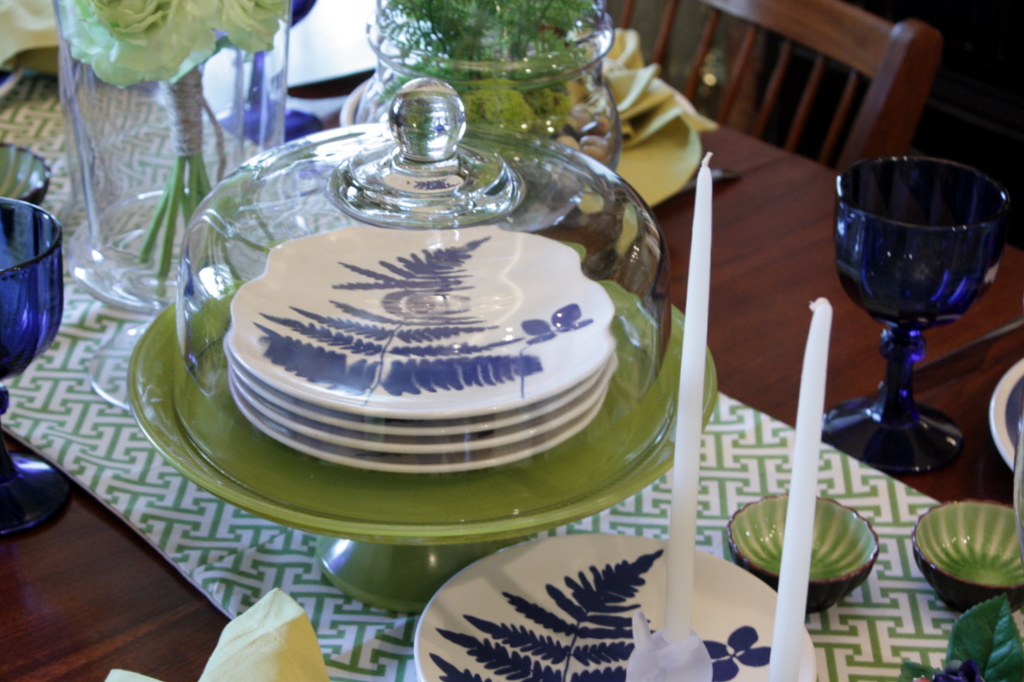

Can you tell I like green and white? :)


I like how long these are, great for our outdoor table, and looks nice when the extra leaf is in the kitchen table. Customize yours to what you need....


...and then do a pretty tablescape.


Thanks for stopping by, I hope you're inspired to try this project. Because of the length of this tute, I didn't include how I created matching napkin rings, but it's in the works, so look for it soon!

If you have any questions, let me know.


Visit thecsiproject.com


Friday, June 3, 2011

Hello, Happy Birthday, and a Tablescape

It seemed like I was never going to click on the publish button ever again. Recovering from a major surgery is not fun, and yes you do hear a little whine in my voice. I haven't felt creative, I missed Spring (the whole season) and I don't even want to talk about the tornado that ravished the heart of Joplin Missouri which is just down the road from me. I was going to come back and post pictures of all the destruction, but I just didn't have the heart, this is suppose to be a happy place to share ideas and inspiration, not destruction. We went to MSSU and watched President Obama speak last Sunday....not that I am an Obama supporter, but I do support Joplin. What the tornado did is unspeakable. You may or may not know that I am from Eastern NC, I've been through several hurricanes, but this is the first tornado that has come this close since living here (in MO), and I was scared. Lord help as Joplin starts to rebuild and start again.

June 1 was my birthday, one more year closer to 40. I still haven't regained all my strength from surgery so I put together a table that made me happy, in honor of my birthday. Really, really slowly. I wanted to use my vintage Mikasa (circa 1974) dinnerware, featuring Vera Nuemann, that I got for my birthday last year. I absolutely love it.


How do you like the table runner? I made myself a birthday present! :) I made it out of some Waverly fabric that I bought some time ago. I can barely sew, yet I buy fabric all the time. What's with that? I'm telling you, if there were numeric levels of sewing I'd be on level zero. But true to form, I'm going to throw a tute out there just in case you are at the same level as I am. Look for it next week, early. Maybe. We'll see what the pain levels are.


I had enough scraps to produce some napkin rings too, I'll throw how to do that in the tute too.


I've done a little spray painting too. I jazzed up a plain glass cake stand with Krylon's Ivy leaf, I love that color and use it a lot. This was a super easy project and if you spray the glass from the bottom, you won't have to worry about contaminating food.


The dinnerplates are colbalt blue with white fern and the dessert plates are reversed, love that.


You may have seen these goblets before, they are vintage too.

I love mixing old and new and throw in a little handmade.


The goblets are two different sizes. I remember back in the nineties, I was really into colbalt everything, then I wasn't for a long time. But I've come to love it again.

I think the organic fern on the graphic green fabric is so nice.
For me, and you might agree, Tablescapes are a great way of having a little bit of every style I like, without the commitment of redecorating everytime I fall in love with a new look.


Thanks for stopping by and sticking around!


If you would like to see additional photos, checkout my photostream.

*Updated* DIY Table Runner Tutorial click here.