Thank you so much for sticking around even with my erratic postings. I am thankful for all of you who read and comment and welcome to those of you who are new. I've got some exciting things happening in my world and I can't wait to share with you. In the mean time, I'm finally getting around to sharing a dresser project for the master bedroom. I'm calling it the Chain Link Dresser.

If you remember the feature that Erin did on a beach house that is out of this world fantastic....well I think I was instantly inspired by this dresser. I loved the circular detail on it, I don't know whether it's painted or papered or what, but I knew I had to try to create something like it for myself.

I found this plain dresser several months ago and it's been sitting in the garage.....finally I knew what I was going to do.
It's a great dresser, taller than average, about 50 inches. I like the simple design of it so I knew that adding the circular detail would elevate it to greatness.
The finish was not in the best condition, some gouges and scratches, but well made. A perfect candidate for extra storage.

I worked on it right in the kitchen area, took off the hardware, and laid it down on it's back.
 For the circles I used 12" wreath forms called craft rings. They are made of a composite wood and can be cut and painted for any number of uses. I've used these "craft rings" (from Michael's) for numerous intended things and knew they would work perfectly for this project....the wood strips (to join the circles) are just lattice from the Home Depot that is sold by the foot.
 I played around with the circles until I was happy with the configuration. I marked where I needed to cut and cut all the circles and lattice by hand. I admit it was a pain in the butt. I thought for sure that I would have to get Justin to help me, but I just marked with a pencil and used a mitre saw to cut everything. I used liquid nails and glued all the pieces down. Once the glue had dried, I filled in the holes that are on the rings with caulk to make them smooth. I also used the caulk around the rings too to make them seamless and more a part of the dresser.
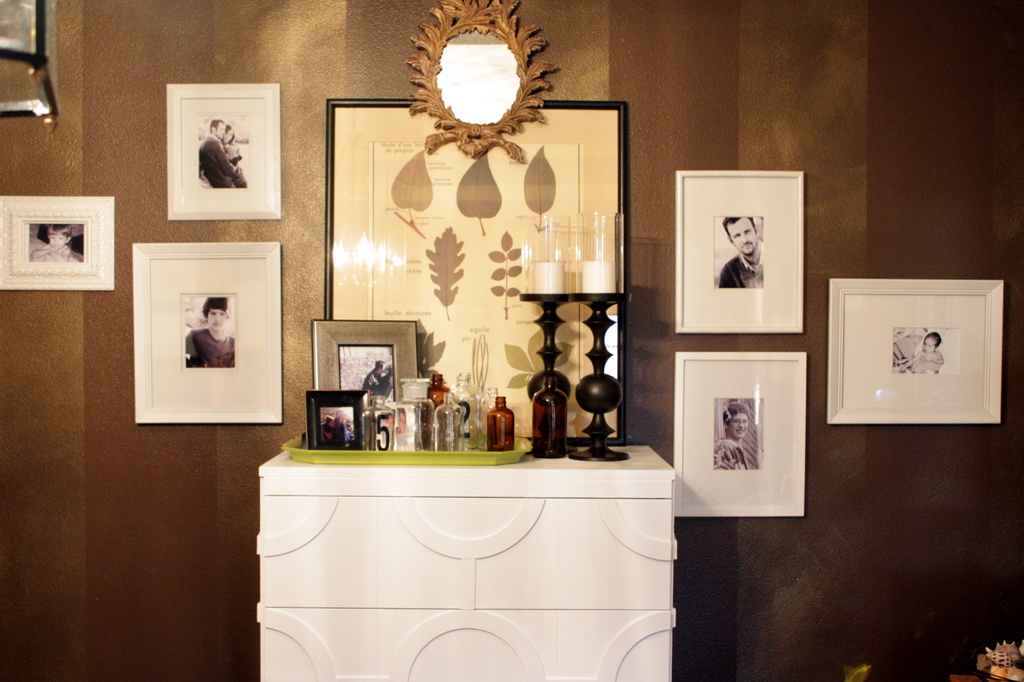
 I primed and painted everything white (I spared you the pictures of that :) I used Martha's Tailors Chalk left over from painting the kitchen cabinets so I didn't have to buy any paint. I toyed around with painting it a color, painting the circles a different color, and vice versa. In the end chose white. When in doubt paint it white. :) I knew it would be against the brown walls and would really pop nicely ( I use a lot of white in there). I really considered aging it out like the inspiration picture, but I'm a gloss girl. :) Don't get me wrong, I love the look of age. I like mixing high gloss and rustic, but in small doses.
 I still might put some handles on, if I find the right ones. Am I they only one that can't seem to find the perfect hardware? The drawers open easily from the sides, so I don't mind waiting until the right ones come along.
 I've marked a couple more things off my bedroom to-do list....I've gotten another curtain panel that I needed and the fabric has arrived to do the skirted desk. Now I've got to get it done!