Showing posts with label red. Show all posts

Thursday, December 8, 2011

Old World Christmas {Tablescape}


Hi and welcome to an Old World Christmas! It's no trouble pulling different looks together at this time of year, I love so many!

This tablescape came together relatively easy, practically by itself. I was pulling linens and dishes out because I had grand ideas of going outside to create a tablescape but the weather just didn't cooperate. I think the freezing temps and wind chill of winter have officially arrived. :)

I pulled my lantern knowing I wanted that as a centerpiece. While it would have fit wholly on my rustic table outside, it's a little snug on the dining room table (oh well). The lantern really set the tone and I came up with a name right away (you name your tablescapes too right?)


I have had a couple of 'old world' figures for years now, and they really look at home. This is the snowman, with his not-quite-white snow, red scarf and broom.


and the Santa with his toy bag and lantern staff.

The glassware I chose, you've seen before, but probably my favorite.


I've had my linen runner on the table for a while now, I'm really glad I went ahead and made it. It sets a neutral background for everything.


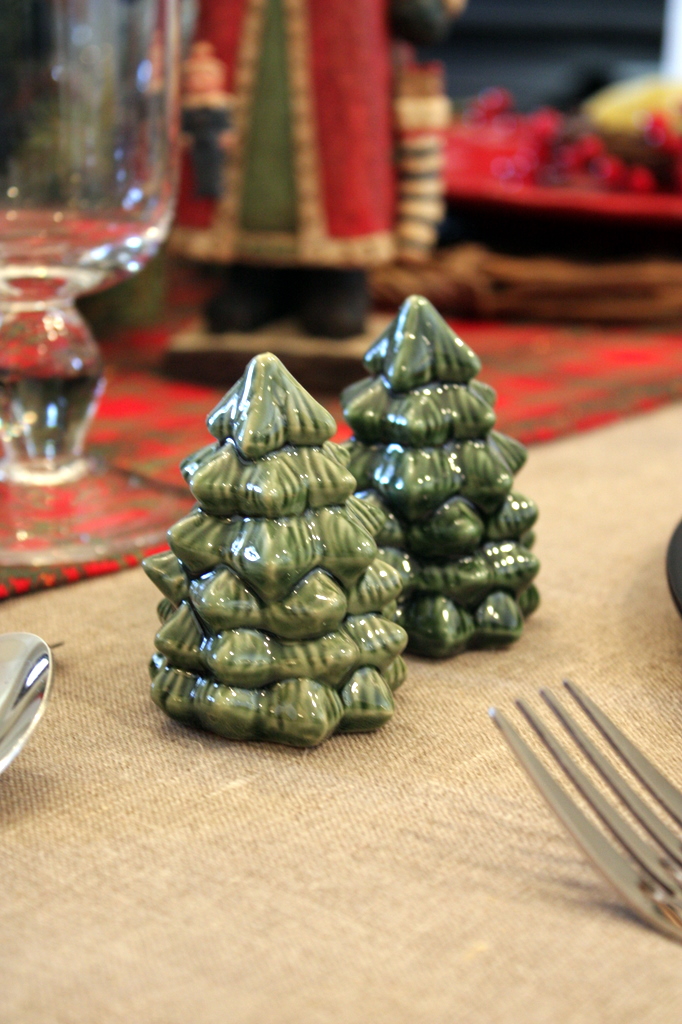
Little Christmas tree s-n-p shakers, love these, and love that they were inexpensive.


I put a wreath around the base of the lantern and I did a little doohickey on the flue. I showed you how to embellish a lantern for Fall, so here is a Christmas version. The doodad would have been a little more involved had I not used the wreath, so a little bit of berries, webbing and candy canes did the trick.


I was inspired to use the webbing after seeing it in the PB catalogue and it goes so well with this look! I didn't even look at the price in the catalogue, I just trotted my butt down to Walmart and got a couple of yards of chair webbing. I think it's around a dollar per yard {I think} I can't quite remember. At any rate, it's got a great look to it and not any harder to use than burlap ribbon, there just isn't any wire.


I found these holly berry plates a couple of years ago at a antique store, although the stamp on the bottom that says 'Home' next to the Target symbol leads me to believe they are not antique. :) But I guess they will be eventually. My twiggy chargers look nice under them.


I recently found a couple of fun plaid runners at Dollar General and used them across the table. That is a fun alternative to placemats. The captain's chair layout looks a little different, I even used wooden chargers instead too.


For the napkin rings, I used tiny grapevine wreaths and snipped little red berries apart and wove them around. The celery green napkins are casually folded on the ring.


So while this would have looked so fitting outdoors, it's not too shabby inside.

Thanks so much for stopping by I hope you're inspired!

I will be sharing a fun paper craft with you tomorrow, see you then!


Need a design boost? For advice and guidance on style, contact me!

Monday, December 5, 2011

Christmas Kitchen 2011

I was really excited about adding some touches of Christmas to the kitchen because it's the first Christmas since the Kitchen Facelift. Since I did the facelift at the beginning of this year, this is my first Christmas with the black and white cabs. I have really, really enjoyed the changes and adding merry touches have been really fun.

We are in the throws of hot chocolate season here in MO (it's even suppose to snow today!) so I set up a 'hot chocolate' bar. Honestly, this counter is typically our 'catch-all' counter, so I cleaned it off once and for all and vow to keep it clean. What better way to keep it clutter free than to fill it with all the makings of a fine cuppa hot chocolate. The kids really love it, and really, I love it too. About 12 dollars in supplies, and everything else I had on hand.


Looking in to the living room:


On the dining table, just a simple centerpiece with cylinder vases and cedar. I raised one up on a vintage milk glass pedestal and tied some fun stripped ribbon around the glass. You might remember the linen table runner I made for my Thanksgiving table. I really love the look of it for Christmas too, I think it adds a little elegance to an otherwise whimsical look.


Little Christmas touches on the other counter too, the green (leaf green from Krylon) I use all through the year looks nice with Christmas red.


Cute little musical snowman I received last year as a gift, so cute! His little gumdrops light up too! :)


I jazzed up the chalkboard door with a wreath and a merry Santa face, handcrafted felt poinsettias and gingerbread men.
If you have ever considered doing a chalkboard door, do it, we have really loved it.


The kitchen is not super big at all, the door leads to the garage and the laundry room is in the corner past the fridge. I'm hoping to give it a little facelift of it's own next month.


The centerpiece from the Yuletide Christmas tablescape found a home on top of the hutch. I wanted a little bit of greenery and that really did the job. With the super long branches, I was able to hang some paper stars. I hope to show you how to make the stars next week.


Looking in to the kitchen.


My little collection of Waterless Snow Globes are in the window sill, behind all that sunshine. :)


I recently made over an old painting into a chalk board, check out the 'before' HERE. I hung some paper punched and bottlecap garland over the corner and added a paper star. Logan is only tall enough to draw on the bottom, it's been a fun addition.


I hope you have enjoyed the little tour. Have questions? Just ask in the comments.

Joining Layla @ The Lettered Cottage


Need a design boost? For advice and guidance on style, contact me!

Thursday, December 1, 2011

Yuletide Christmas {Tablescape}


Are you getting ready for the Holiday season? Dragging out the tubs, untangling lights, and fluffing your mantle with Christmas finery? Well thank you for taking the time to stop by for some inspiration!


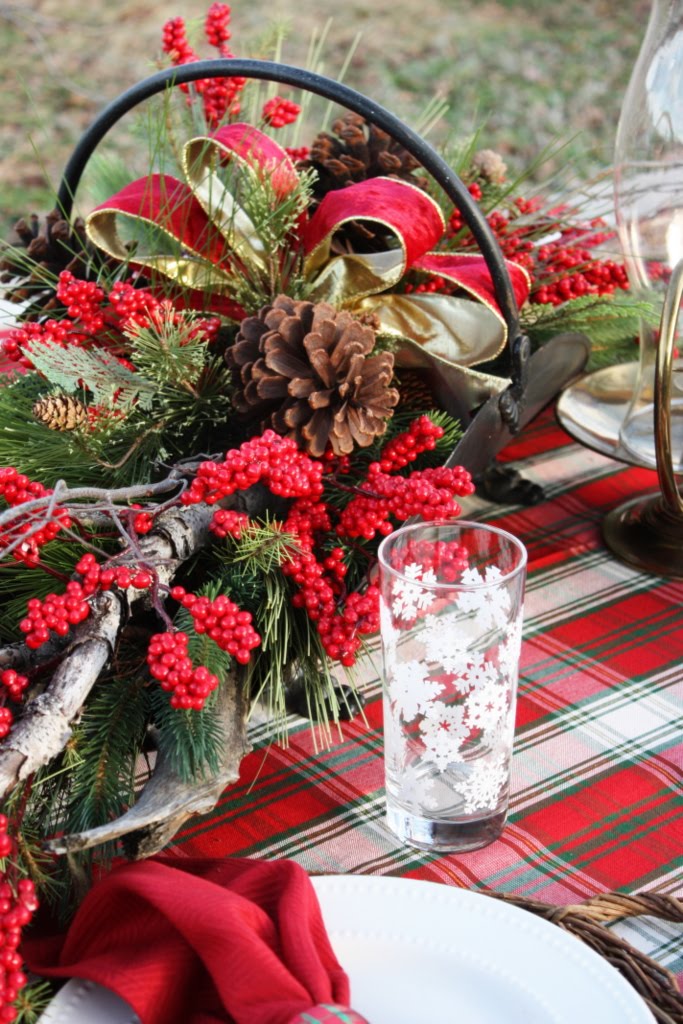
I was thinking the other day, what are quintessential Christmas elements? The first things that come to mind for me....red berries, pine, pine cones, and plaid. In gathering all those things, I headed outside to create a Yuletide Christmas.


This is actual frost on the centerpiece...I left it on the table and the next morning it was frosty and I couldn't resist snapping a couple pictures. It makes the berries look so real!


For the centerpiece, that I always love creating, I used an old metal log holder. It's kinda big, so I started off with long branches. Then filled in with pine and berries and finished it off with a small ribbon. A classic hourglass hurricane on a brass holder provides a little candlelight, off to the side.


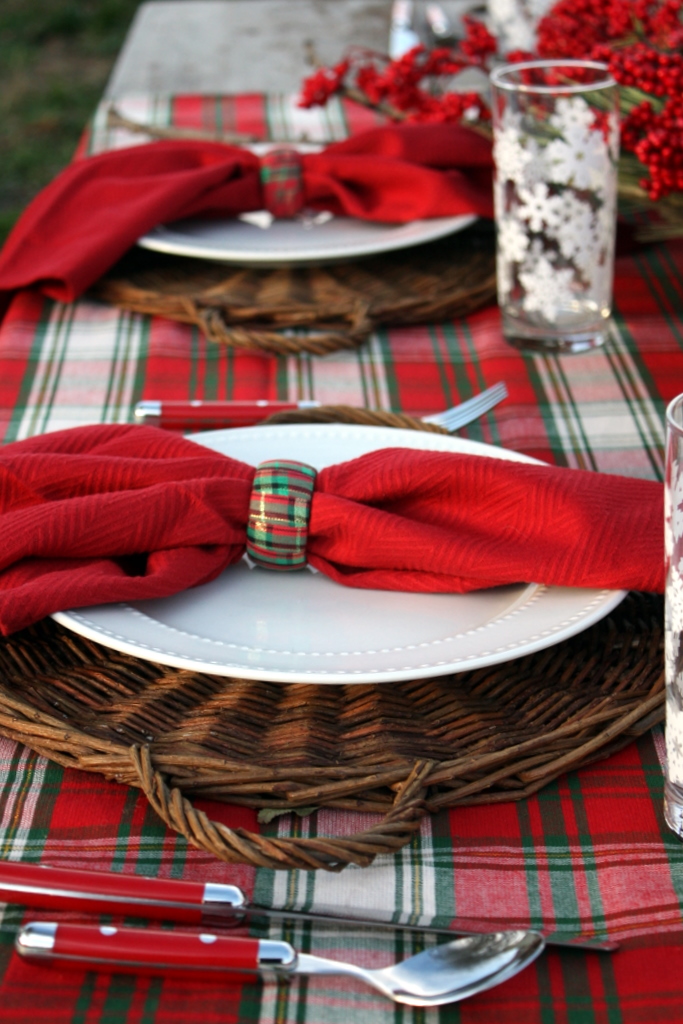
The tablecloth was a recent find at Big Lots. I zeroed right in on the plaid, although they have other styles.


Herringbone napkins that I've had for a while, they show up for any occasion that calls for red. The napkin rings I created by wrapping a plain plastic napkin ring (from the dollar store) with plaid ribbon and a little hot glue.


Twiggy chargers from Mary Carol Home Collection, love these and use them a lot. Flatware is from Target, although I think I've seen this style everywhere now.


Simple white plates with a little pearl detail around the edge, also from the Dollar Tree, last year.


I love how the centerpiece turned out, something a little unexpected and certainly festive.


The snowflake glasses were a find from last year at the Dollar Tree.
These are actually in everyday use, they are the perfect size for eggnog. Which we love and drink all the time, except for Keegan, he doesn't like it at all.


The candle lit at night...


So what are the elements that make a quintessential Christmas for you? Are you like me and love the traditional things?


I hope you've enjoyed my Yuletide Christmas!


Joining Susan for Tablescape Thursday


Need a design boost? For advice and guidance on style, contact me!


Thursday, June 23, 2011

Easy Hurricanes


This is one of those projects that a little bit goes a long way. A super simple way to light a walk way, dress up a porch or create a centerpiece at a holiday BBQ.
Whatever you decide to use them for, these hurricanes couldn't be easier.


I have a real sickness when it comes to glass jars. I refuse to throw them away and literally argue with my inner recycler over whether to throw that spaghetti sauce jar out or not, because I can use that for something. Like eventually all glass jars will be nonexistent, and the leaders of our country smile and nod at me because I've been saving all jars, bottles and containers....you know, because plastic has taken over the world or something like that. So from mayo jars to pickle jars, they get put in the garage until I find a use for them. Let the record show (and let my husband know too), that I have found a use for some of them.


I used the large (restaurant size) pickle jar and mini flags. I found the flags at Target, 3/$1.00-that's the cheapest I've seen.


Remove the label and clean the jar, soaking works best for me. Take the the flags off of the sticks. spray the back with spray adhesive and apply to jar. I just eye-balled it.
To seal the flag, I put on a coat of Mod Podge, careful not to get any on the glass.


I used two flags per jar, and that is it! I put a little sand in the bottom to hold a votive cup level and I lined them down the walkway.
I took this at dusk, but you can barely see the flame....


So some evening shots are in order, although it's tough to get a good night shot.


Aren't they festive?


I like the simple look of them, but you could certainly embellish them more. Tie some jute or ribbon around the mouth of the jar, or if you are into the primitive look, coffee stain the flag first and then apply to the jar (after it's dry of course).


Thanks for stopping by, I hope you're inspired!


UndertheTableandDreaming